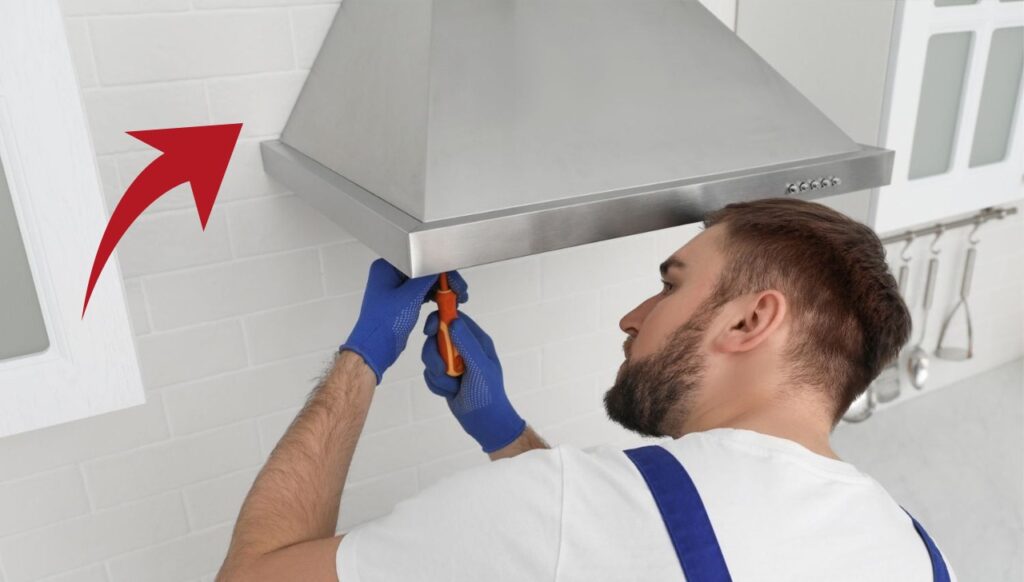
Step-by-Step Guide To Kitchen Range Hood Installation

Introduction
A kitchen range hood is important in maintaining air quality and eliminating cooking odors in your kitchen. It is an indispensable appliance in your kitchen because it captures the airborne particles and pollutants in the air which can cause health risks. Kitchen range hood installation will make your kitchen healthier and your cooking experience more enjoyable.
Kitchen Range Hood Installation - Important Instructions To Follow
The first important thing to do is to turn off power to ensure safety. You should make sure you measure and mark the installations accurately and mount the brackets to studs. Follow the instructions given in the manufacturer’s manual correctly for the electrical wiring of the vent hood installation. Get professional help for wiring if needed.
Tools Required For Kitchen Range Hood Installation
For measuring and marking:
- Measuring tape and
- Pencil
For mounting and securing :
- Screwdriver
- Drill and
- Stud finder
For assembling and installation :
- Range hood kit including hood, mounting brackets, and screws
- Ductwork components
For electrical work :
- Wire cutters
- Wire nuts
- Electrical tape and
- Voltage tester
For safety equipment :
- Work gloves
- Safety goggles, and
- Step ladder
Steps To Follow To Install Kitchen Range Hood
1. Remove The Old Range Hood
If you are replacing an old hood, shut off the power, disconnect the wiring, and then remove the old hood. Range hoods are heavy. So, you can’t do it on your own. Get the help of another person to support the weight.
2. Prepare The Workspace And Gather The Tools
Clear the space around the installation area and ensure there is enough room to work comfortably. Make sure all the necessary tools and materials are ready.
3. Locate And Mark The Vent Hood Location
The location of the vent hood depends on its measurements. Measure the range hood and the wall to locate the right spot. Make sure there is no plumbing or wiring behind the wall.
4. Drill The Exterior Hole For The Vent
Use a saw or oscillating tool to make a hole of six inches wide or more if possible. Then, place the locator holes on the edges of the vent hole.
5. Attach The Vent Cap
The vent hole will extend up to the exterior of the home. Push the vent cap into the exterior opening of the vent. It should be long enough to reach the range hood. Seal it securely using screws, caulk guns, and caulking compounds.
6. Connect The Damper
If your range hood has a damper, you should attach it to the vent hole. To find how much duct you will need, measure the interior hole of the duct. Then, cut a small section of the duct to check if it fits. You should continue to cut a bigger piece after ensuring the duct fits.
7. Connect The Wiring
Follow the instructions carefully for connecting the wires. Drill holes in the slides of the vent to run the wires easily.
8. Mount The New Hood
Place the hood, align it with mounting brackets, and secure the hood with screws.
9. Install Vent Covers
Your installation is complete when you finish installing the vent covers.
Conclusion
Safety should be the top priority in exhaust hood installation, especially while working with wiring and lifting heavy appliances. Don’t hesitate to seek help from a professional installer. If you want to upgrade your kitchen with a new kitchen range hood you should hire us, the best company for kitchen ventilation installation, kitchen exhaust fan installation, and kitchen hood cleaning. contact us for a cleaner and healthier cooking environment.
FAQ’S
Yes, you can install a range hood if you have the necessary tools, skills, and confidence. However, it is advised to seek professional help if you are not comfortable and confident.
It is usually installed above the cooking space in the kitchen, against a wall, or from the ceiling.
It is attached to the wall using duct tape and mounting brackets. Screws are driven into the wall studs to screw it into the wall.
The ideal distance from the cooktop is 36 inches. If it is very high above the cooktop, the ventilation will not be effective.

